Cannon Hill Park, Birmingham.
Birmingham Nature Centre, Pershore Road, Birmingham.
Bullring & St.Martin's Church, Birmingham.
Monday, July 31, 2006
Wednesday, July 26, 2006
Project 2: Focus With A Set Aperture
 The aim of this project is to show that by using a wide aperture the depth of field can be narrowed to make a small part the image stand out.
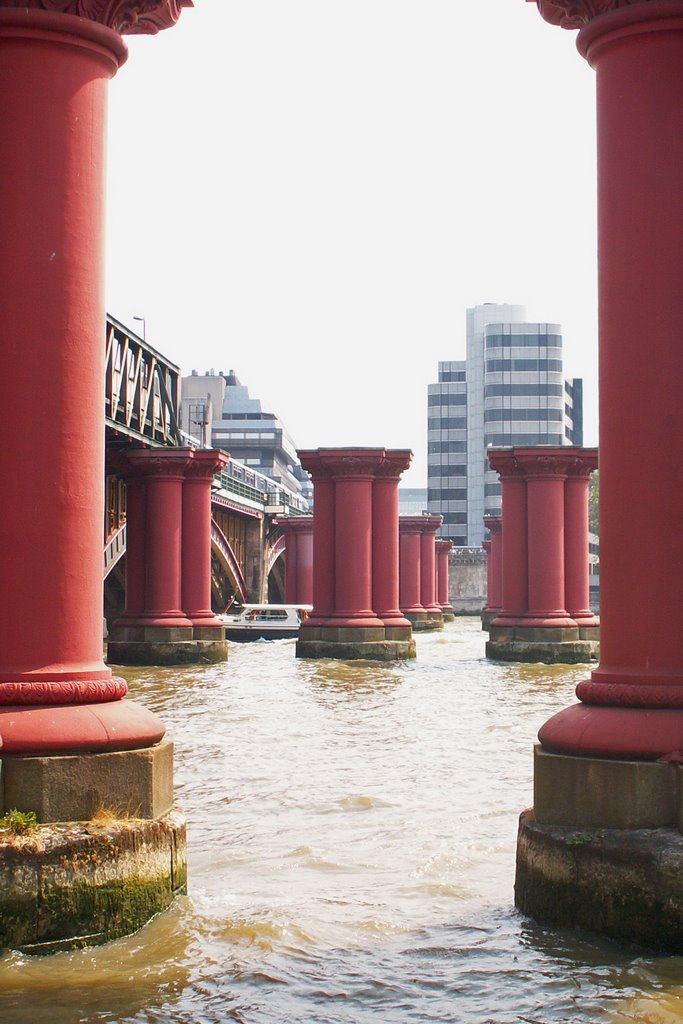
I took a series of 3 photos at the old Blackfriars bridge across the Thames focussing each time on a different column (far, middle then near). Each shot was taken at standard focal length with a aperture of f/3.2.
When viewed, there is very little discernable difference between the shots (and therefore I have only included one of the shots here). Further reading about the subject shows that there is more to reducing depth of field than simply using a wide aperture. Frost (1993, p 31) states that:
"Whenever you take a picture an area extending in front and behind the point you focus on will also come out sharp. This area is the depth of field, and its size varies depending upon three things:
- The aperture set on the lens. The smaller the aperture, the greater the depth of field. If you take a picture using an aperture of f/16, much more of the scene will come out sharp than if you use a large aperture such as f/2.8 or f/4.
- The focal length of that lens. The shorter the focal length the greater the depth of field is at any given aperture. A 28mm wide-angle lens will give far more depth of field when set to f/8 than a 300mm telephoto lens set to f/8.
- The distance between the camera and the point focused on. The further away the point of focus is, the greater the depth of field for any given lens and aperture. If you use a 50mm lens set to f/8, depth of field will be greater if you focus the lens on 10m than it will focused on 1m.
In order to get the images I require for this project I will repeat the exercise using a wide aperture at a longer focal length and have the points of focus closer to the camera....
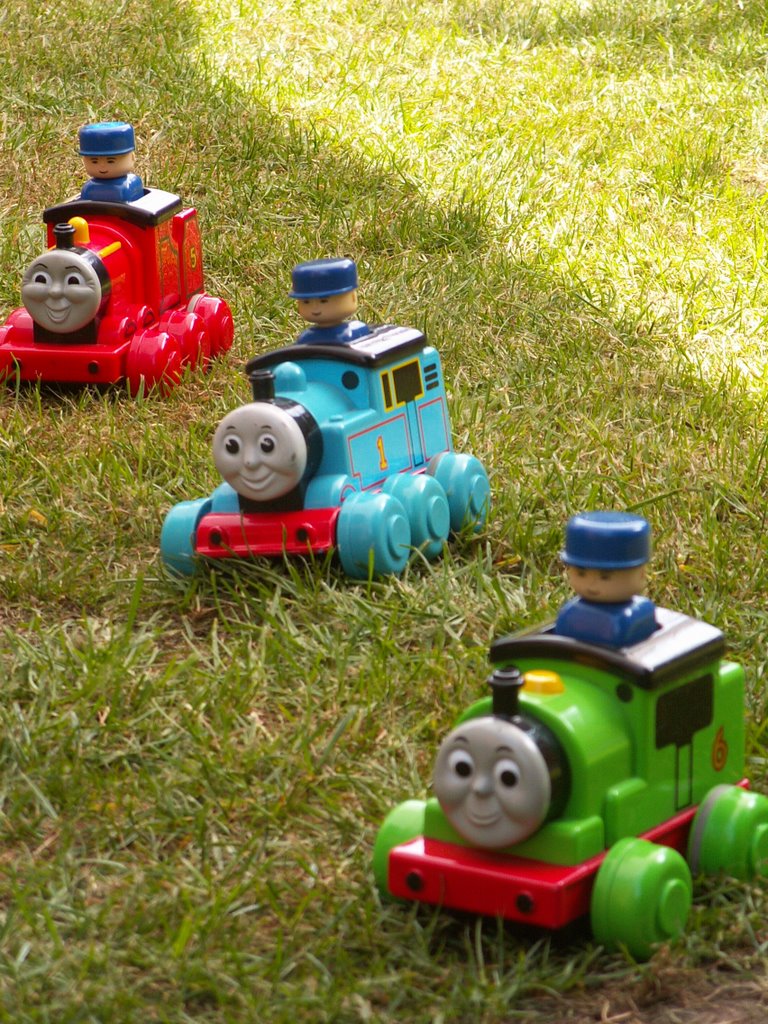 These photos were taken from around 2 metres with a focal length of 160mm at f/4 (each image can be seen at full size by clicking on it).
In the first picture (left) I
focused on the red train.

In the second picture (right) I
focused on the blue train.
focused on the blue train.

In the third picture (left) I
focused on the green train.
I prefer the last picture (focused on the closest, green train) as it has the shallowest depth of field of all 3 shots throwing the other trains out of focus and drawing the eye to the subject.
29 July 2006

I used the shallow depth of field technique in these two photos that I took of the Meerkats at Birmingham Nature Centre.
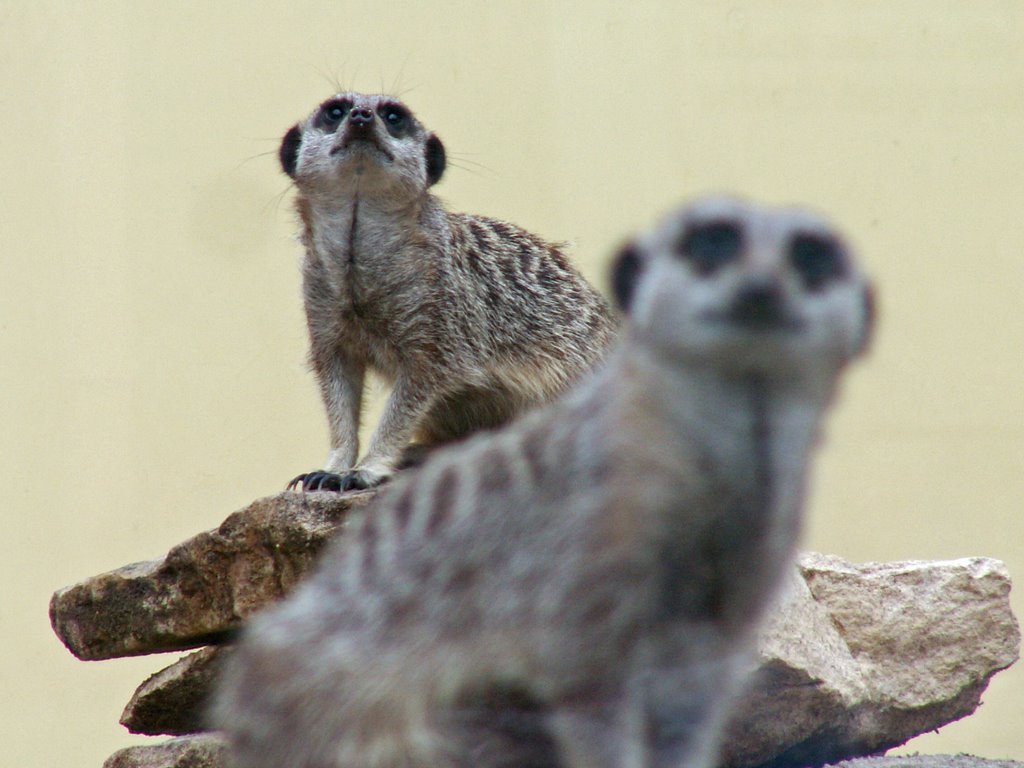
The photos were taken from around 4-5 metres away with a focal length of 420mm and an aperture of f/4.5.
Sunday, July 23, 2006
Project 1: Focal Length & Angle Of View
I went to the Licky Hills Country Park in Worcestershire yesterday to take my first photos for project 1. I am really dissapponted with the photos because they are boring, insignificant images without an interesting subject (although I guess that's not the point of this project - it's more to do with the technical understanding of focal lengths). However, the learning process has begun and I learnt 2 valuable lessons from the process:
 This was my first attempt at
"standard focal length" at Licky
Hills Country Park. In fact the
35mm equivalent focal length
is 117mm!
This photo was taken at
my camera's widest
angle of 35mm (35mm
equivalent)...
...and this photo was taken
at my camera's furthest
telephoto setting of 420mm
(35mm equivalent).
I will now repeat the exercise, learning from the above points, before printing the images to continue with the next part of the project.
Monday 31st July 2006
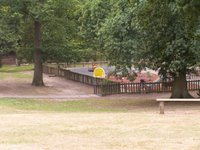
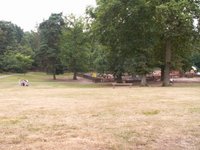
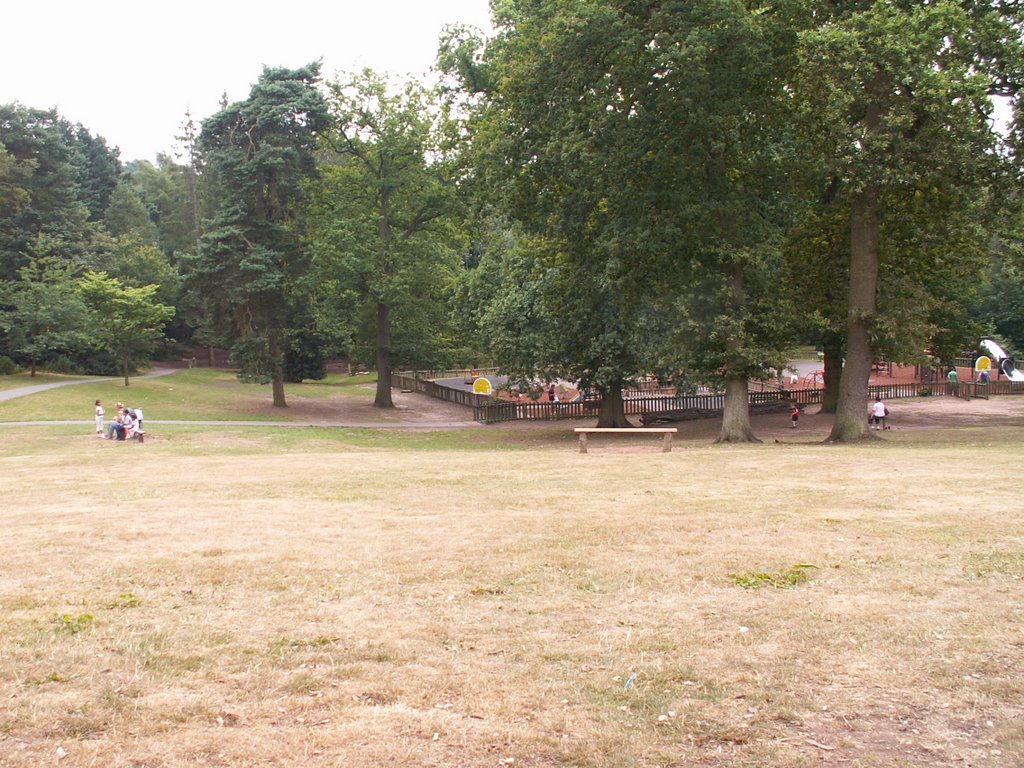
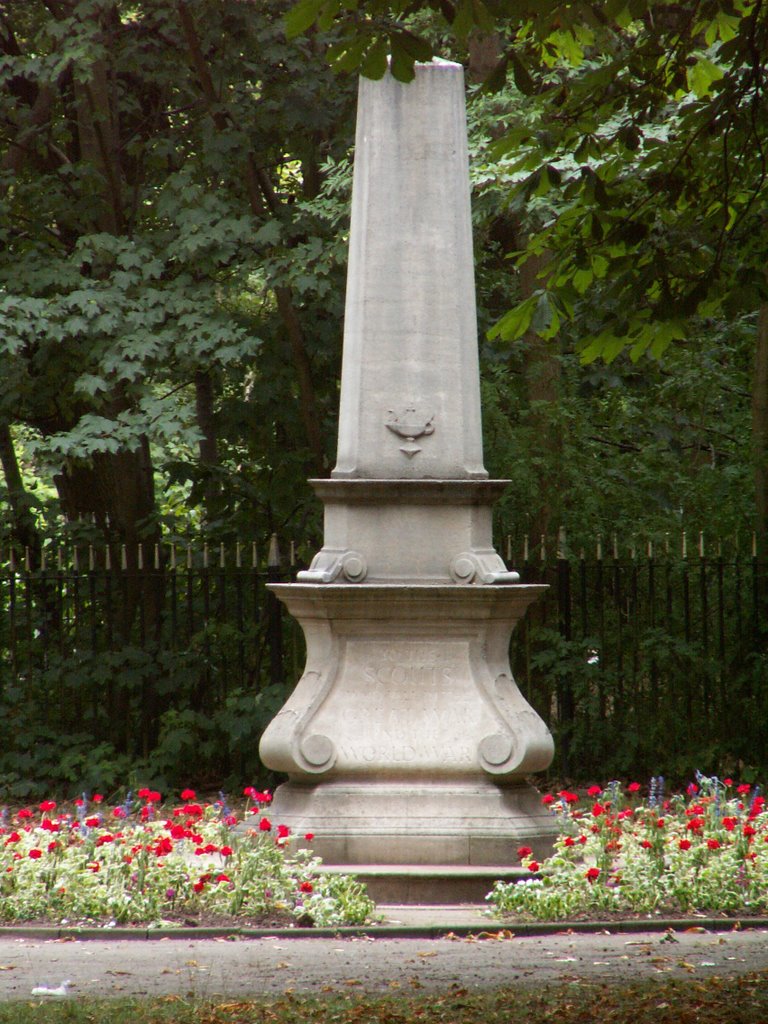
On Saturday I visited Cannon Hill Park and in the avenue of trees that runs down the side of Birmingham Nature Centre I retook the images for this project focussing on the Scout's War Memorial. These pictures were printed at A4 size and I returned to the location today to compare them to the actual scene.
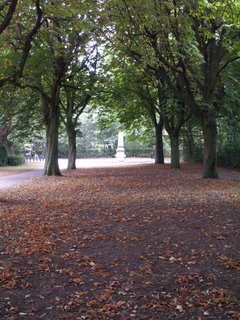
This image was taken with a focal length of 47mm (i.e. standard focal length). In order for the A4 print to appear the same size as the actual scene I had to hold it approximately 20cm from my eyes (i.e. comfortable reading distance).


This image was taken at my camera's widest angle (35mm focal length). The A4 size print needed to be held just 5cm from my eyes in order to appear the same size as the actual scene.
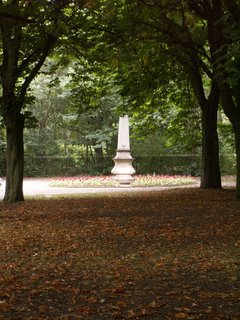
Because I predicted that the photo at full zoom (above) would be unable to be compared to the size of the actual scene, I also took a photo at a mid-zoom focal length (109mm). The A4 image had to be held at arm length in order to appear the same size as the scene.
- Firstly, I took my 1 year old son with me to the park on his tricycle - this meant that not only did I have to constantly worry about his welfare whilst I was taking photos but I also couldn't move off the paved paths to look for better shots. I can't have this distraction with me while I am searching for shots for this course.
- Secondly, the project called for a shot at standard focal length (approx 50mm @ 35mm equivalent). The zoom lens on my camera has no markings for focal length (in fact it doesn't move in and out at all) and the only indication of focal length is a visual "zoom scale" in the viewfinder. As a result I tried to find standard focal length by comparing the image in the viewfinder with the image looking directly at the scene (as standard focal length was explained in the course notes as the focal length at which the view in the viewfinder is the same size as that looking directly at the scene). The result was a picture taken at a focal length of 117mm (35mm equivalent)! Clearly the viewfinder of my camera (which is a small lcd display) has the effect of reducing the size of the image resulting in my zooming in too far to compensate. The problem is further complicated by the fact that although the focal length is recorded in the image's Exif Metadata, this can only be viewed once the image is transferred to a PC and not on the camera itself. As a result I have subsequently taken a few more test shots around the house and can now fairly consistently judge approximate standard focal length just using the cameras digital "zoom scale".
 This was my first attempt at
"standard focal length" at Licky
Hills Country Park. In fact the
35mm equivalent focal length
is 117mm!
This photo was taken at
my camera's widest
angle of 35mm (35mm
equivalent)...

...and this photo was taken
at my camera's furthest
telephoto setting of 420mm
(35mm equivalent).
I will now repeat the exercise, learning from the above points, before printing the images to continue with the next part of the project.
Monday 31st July 2006
On Saturday I visited Cannon Hill Park and in the avenue of trees that runs down the side of Birmingham Nature Centre I retook the images for this project focussing on the Scout's War Memorial. These pictures were printed at A4 size and I returned to the location today to compare them to the actual scene.

This image was taken with a focal length of 47mm (i.e. standard focal length). In order for the A4 print to appear the same size as the actual scene I had to hold it approximately 20cm from my eyes (i.e. comfortable reading distance).
This image was taken at my camera's full zoom (focal length of 420mm). I was unable to hold this photo far enough away from me to make it appear the same size as the scene.

This image was taken at my camera's widest angle (35mm focal length). The A4 size print needed to be held just 5cm from my eyes in order to appear the same size as the actual scene.

Because I predicted that the photo at full zoom (above) would be unable to be compared to the size of the actual scene, I also took a photo at a mid-zoom focal length (109mm). The A4 image had to be held at arm length in order to appear the same size as the scene.
Introduction
Subscribe to:
Posts (Atom)
